Adding on a new customer
Before you can record a customer's transactions or leave money 'on account' for them, you will need to set them up with a customer account on the system. This is done through the EPOS terminal.
Tap the ACCOUNT button to enter the customer accounts window.

The system will display a window allowing you to search for customers currently in the database:
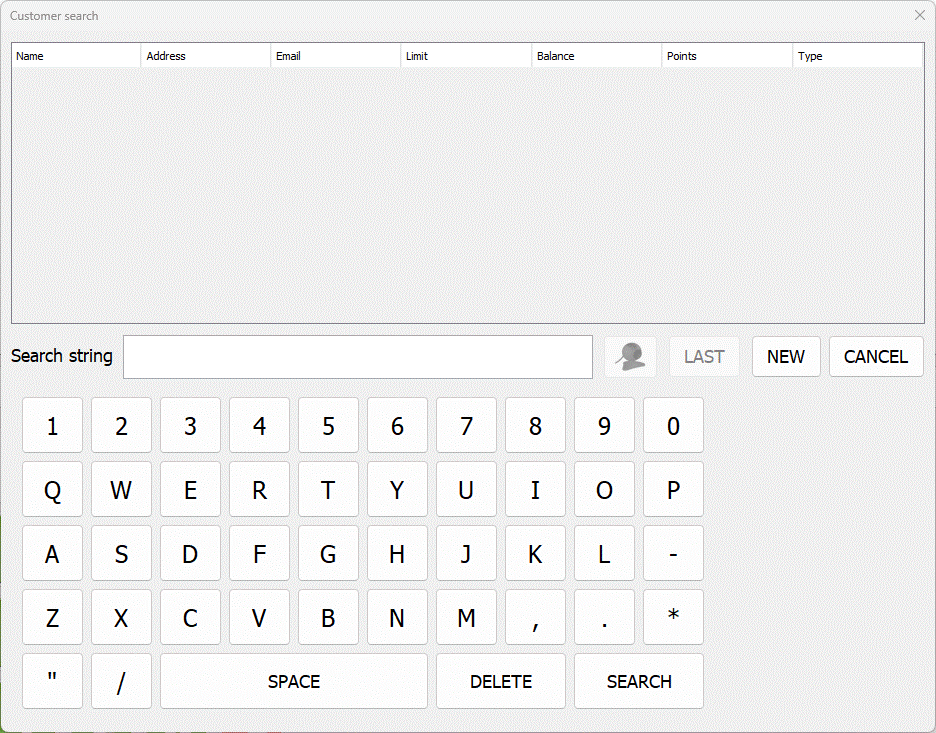
From this window click the NEW button to open the new customer window:
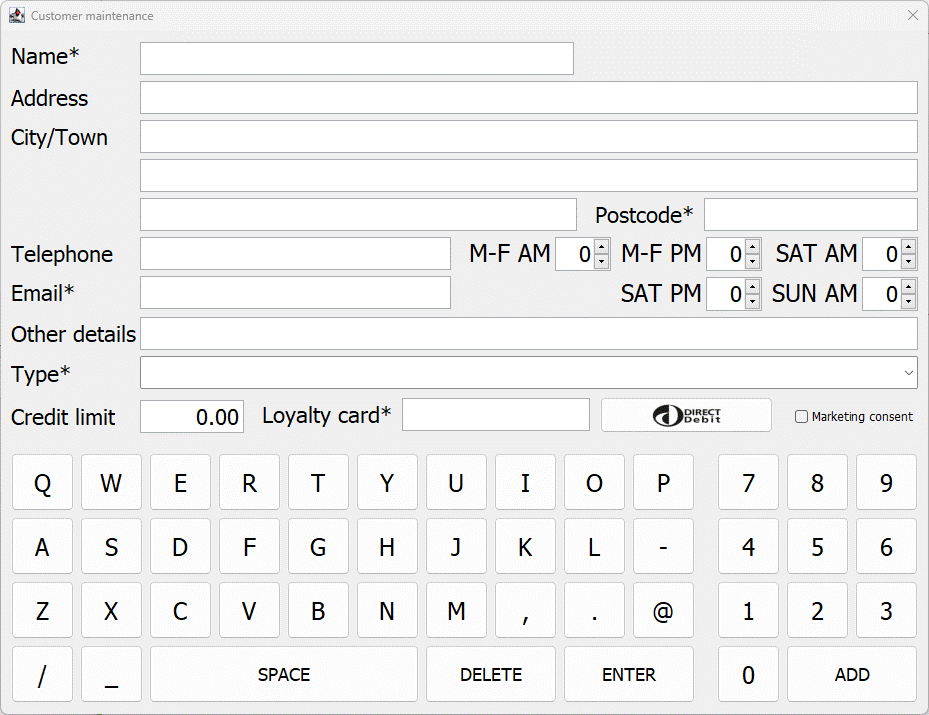
it is possible to configure which fields are required, these are shown with an asterisk "*".
Enter the customer's name. This should be in the format , (i.e. the surname followed by a comma and a space, followed by their first name e.g. "Bloggs, Fred"). Tap ENTER.
Enter each line of the customer's address (tap ENTER after each).
Enter the customer's post code in the usual format (e.g. "AB1 2CD") and press ENTER.
Repeat for the remaining details (telephone number and other details).
If you have the custom field for a type of customer this will be visible.
If the value in 'Credit limit' is left at the default setting "0.00" this is recognised by the system as an unlimited amount of credit.
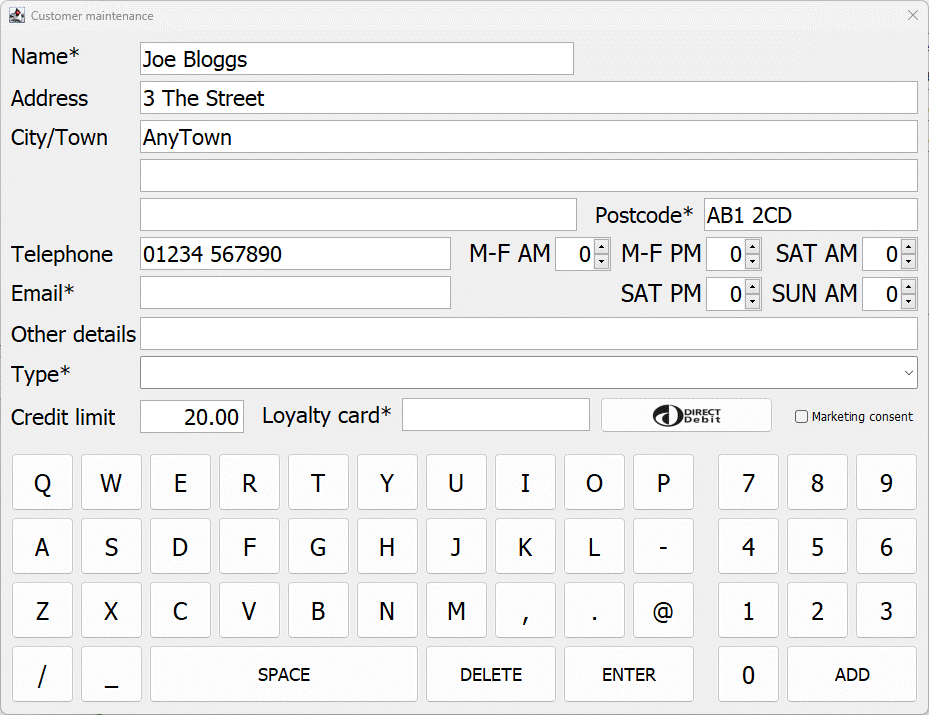
When you have finished entering all of the customer's details click the ADD button. If you have missed filling in a required field you will be prompted to fill it in:
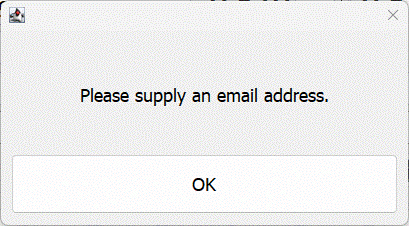
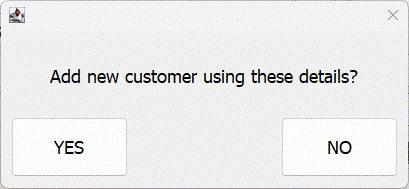
When you have finished entering all of the missing customer details click the ADD button. The system will ask you to confirm that you wish to add a new account onto the system with the given details. Click YES to confirm.
The system will then return you to the customer search window ready for you to add another customer or select the customer you have just added so as the current visit can be charged to their account.