POS Terminal
The main purpose of having an EPOS system is to process customer sales. As stock is sold to customers the system will update the system stock levels and also log the transactions being performed. This information is used later to generate reports and also to suggest products to order based on recent sales activity.
We will look at both of these later on. This section concentrates on how to process customer transactions at the point-of-sale.
In many cases a system is supplied with a pre-loaded stock file. If yours hasn't then now would be a good time to refer to the Stock Database section to add a few lines onto the system for the purposes of processing some test transactions.
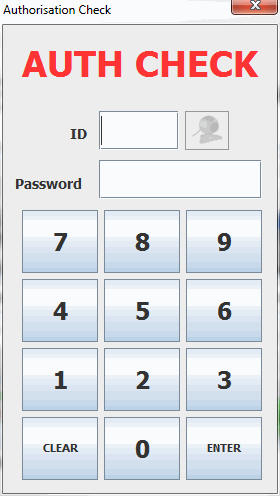
On accessing the EPOS terminal the system will prompt for an employee's ID number and password. This is used to 'assign' the till to a specific member of staff. Until the terminal is exited back to the main menu all transactions performed will be logged against the name of this employee.

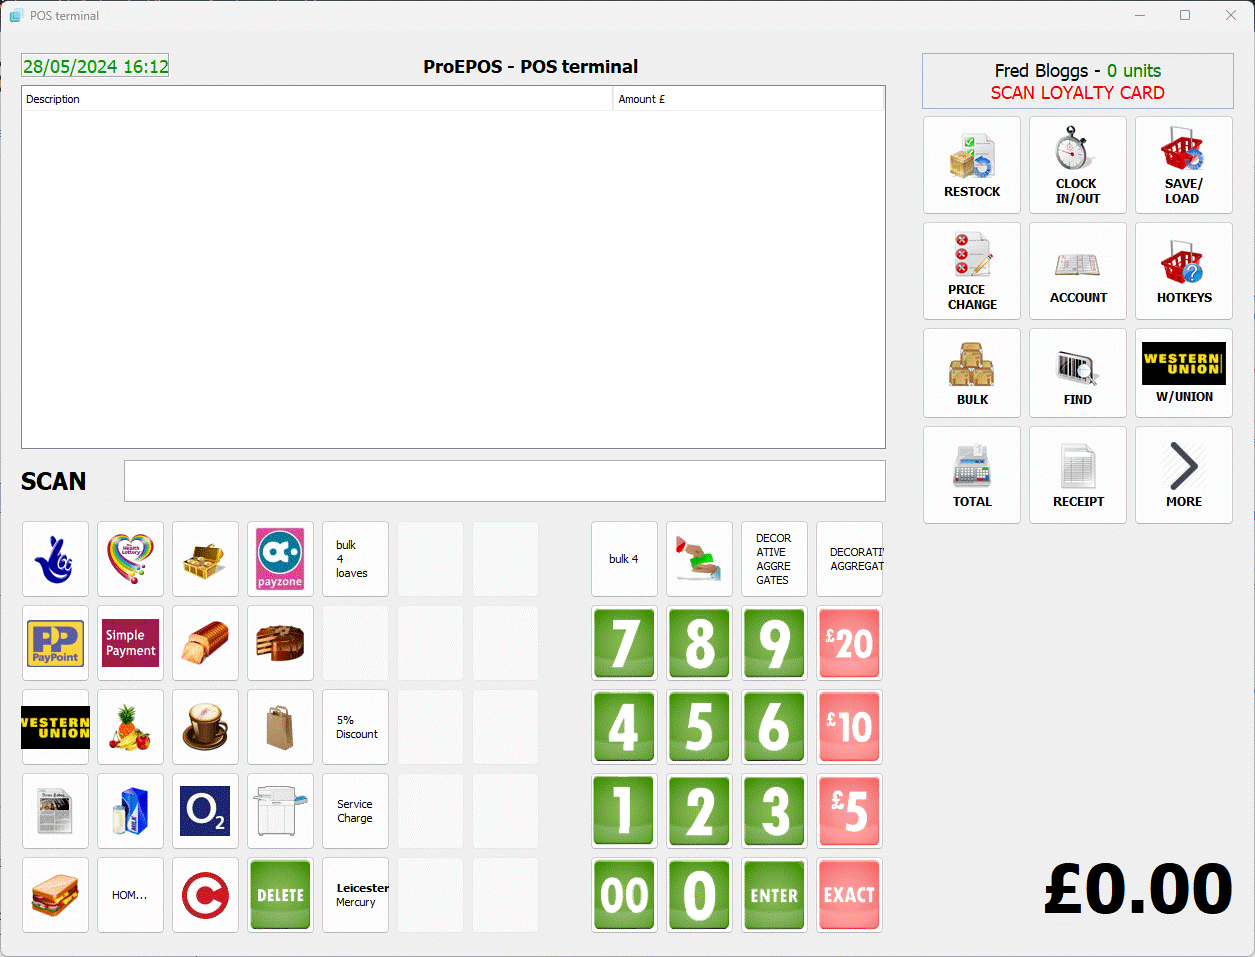
On entering a valid ID number and password the POS terminal window will open:

From top to bottom this shows:
- Date & time (this is an optional setting)
- Window title/ message area
- The name of the employee currently assigned to the terminal. The number of units in the visit. If enabled loyalty customer details.
- The list of items in the current visit.
- The 12 button keypad (these can be re-arranged through the Properties menu -> POS Terminal -> Keypads option).
- The "SCAN" prompt.
- Up to 24 or 39 Quick keys (dependant on screen size/resolution).
- Numeric Keypad (if enabled on a lower resolution screen only 24 quick keys in 4 columns and above the keypad)
- Video display for webcam usage (requires screen capable of 1280x1024 resolution or higher) (not shown above)
- The current visit balance.