Creating a new purchase order
Creating a new purchase order is done by clicking the NEW button to the right of PO# field.
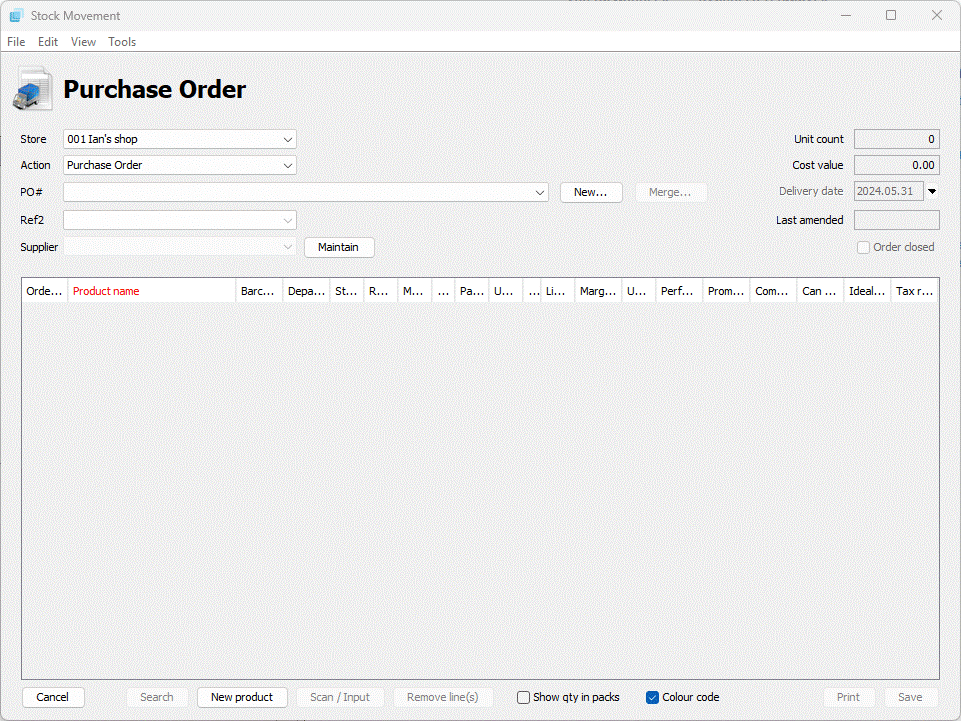
You will be presented with the "New stock form" dialogue. Select the supplier from the list:
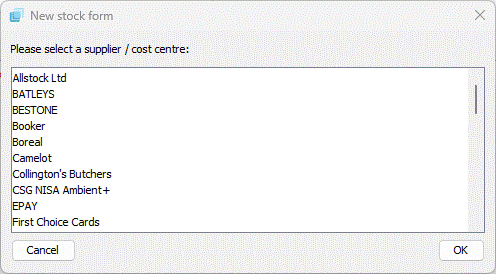
Click OK. The system will ask "suggest products to order?"
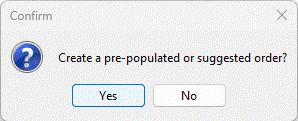
Clicking YES will take you through the auto replenishment options. Clicking NO will allow you to manually create a PO.
Automatic replenishment
Automatic replenishment can be done in one of four ways:
- Based on the re-order levels set in the product details and current stock levels.
- Based on recent or historic sales performance and current stock levels.
- Create a simple order based on sales only between 2 dates.
- Create a simple order for all orderable items (uses the "Can Order" field).
Re-order levels
This uses the auto replenishment details entered against each product, taking into account current stock levels and any outstanding orders. Select the Method "Use manually set re-order levels and quantities", if you want to order for just certain departments select all the options (by default all departments are selected) and click the GENERATE button.
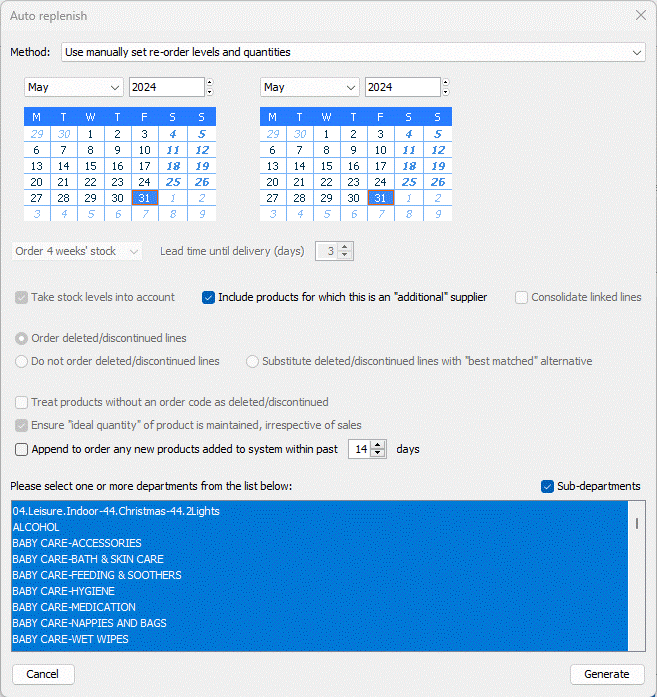
The Purchase Order will populate with suggested order quantities based on your preset requirements:
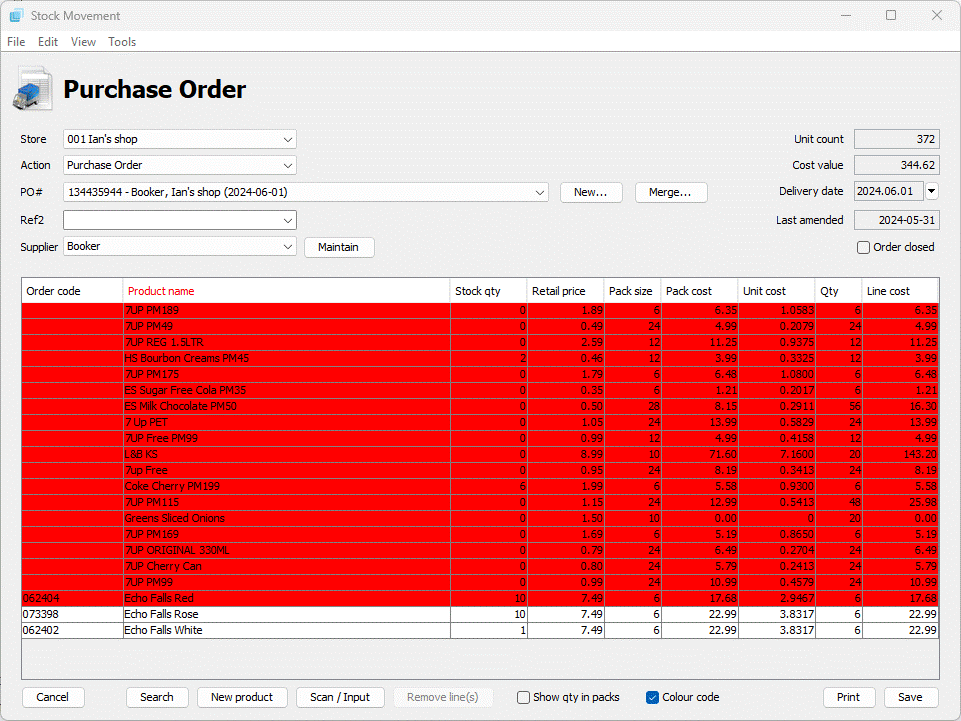
From here you can manually change quantities, remove items or add other items to the order (see the "manually creating an order" section for details on how to do this).
If you are happy with the order, click the SAVE button to submit it to the database.
Note
This will not close the order, see the section on closing orders later in this manual.
Sales performance
Products can also be ordered based on recent or historic sales performance.
Select the "calculate suggested order levels based on sales between these dates" option and then select the start and end dates of the period of time you are using for the sample. Now select the number of weeks for which you would like to stock up for, set the lead time from ordering to delivery.
Finally, click the GENERATE button. The system will generate a suggested order based on the sales for the selected period.

From here you can manually add, remove or change the quantities of products on the order.
If you are happy with the order click the SAVE button to save the current list of products.
Note
This will not close the order, see the section on closing orders later in this manual.
Manually creating an order
Answering NO to creating a suggested order produces a blank PO with the PO number and supplier set in the "PO#" and "Cost centre" fields:

From here there are two ways to add products to the PO; the first is using the SEARCH button and searching for the products you want to order, the second is to scan or type in the barcode of the product to order.
Search button
Tap the SEARCH button to open the product search window:
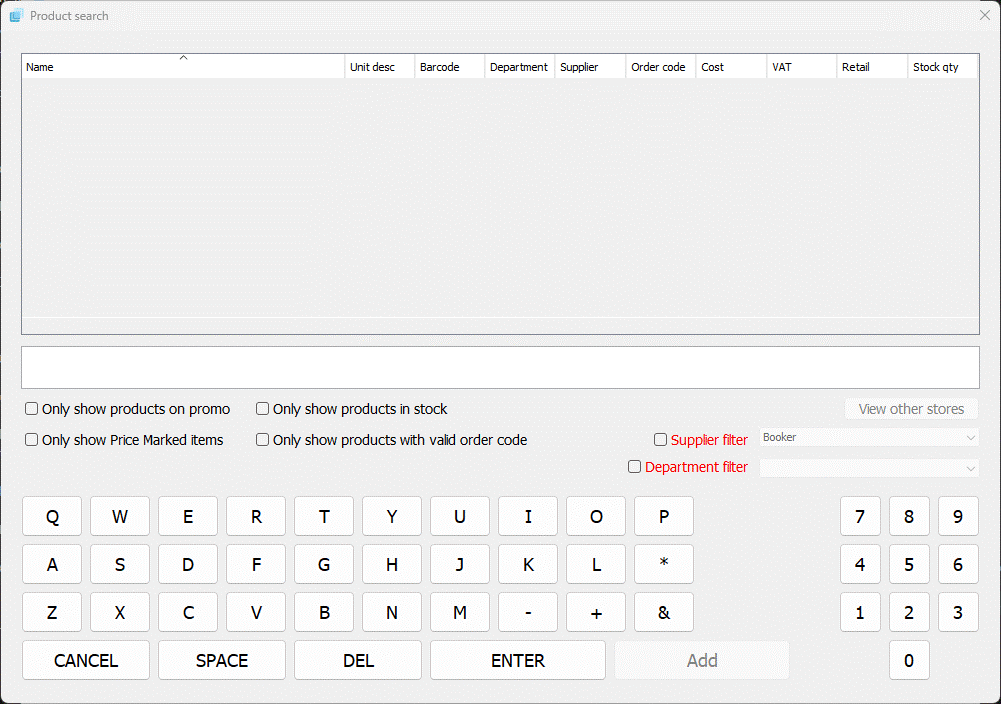
From here you will be shown a list of products that have the supplier you are ordering from set as the primary supplier against the product record. You can expand the view to show products from all suppliers by ticking the "show products for all suppliers" option. You can enter part of the name, order code or barcode to help locate the product you need to order.
To add a product to the PO, select it from the list and click the SEARCH button, this will add one pack to the PO and return you to the main PO window. If you want to add more products, hold the CTRL key down on the keyboard and make multiple selections.
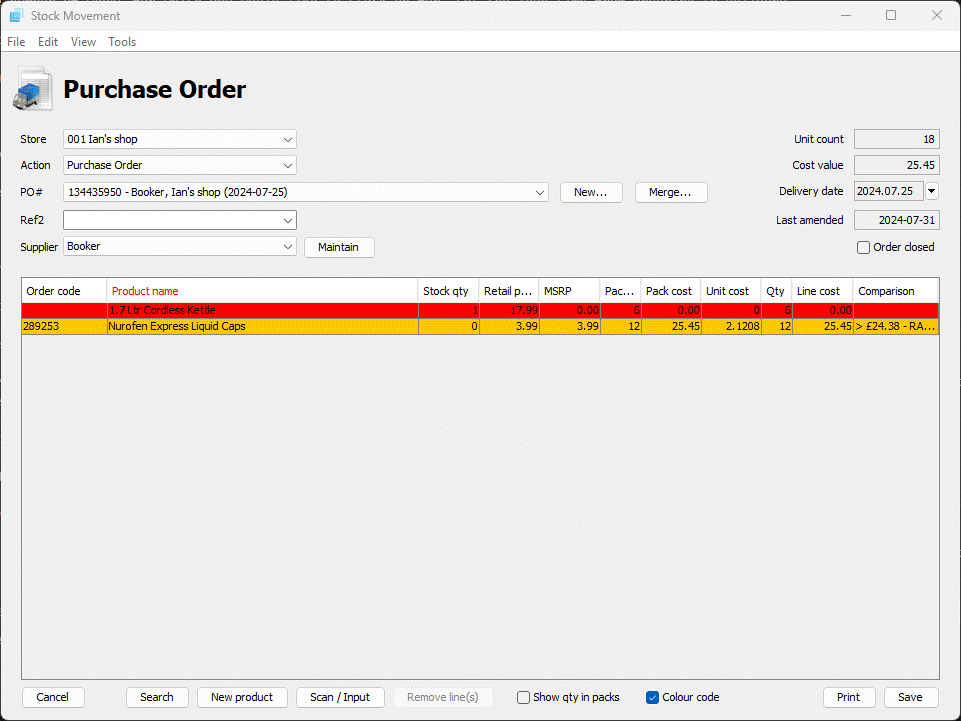
All lines that have been added are highlighted in green.1
If you want to increase the quantity being ordered you can change the figure in the "Qty" column for the product to the desired level. Normally you would order whole packs, except where your supplier allows you to order split packs.
Scan/Input
If you have the products that need to be ordered to hand then it may be quicker to scan them using the retail barcode. To do this click the SCAN/INPUT button to open the input panel window:
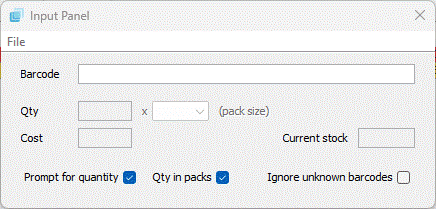
From here simply scan the barcode of the product and enter the required quantity of packs. The cost field will automatically populate based on the product cost held on the product record. To add the product to the order press the ENTER key on the keyboard.
If you would prefer not to enter a quantity, untick the "prompt for quantity" box. For each product scanned a single pack will be added to the order.
If your supplier allows you to split packs and order units then you can untick the "qty in packs" option; quantities will then be expected as units rather than packs.
On the File Menu there are 3 options, the first allows you to load details from a CSV file, the second allows you to load a batch from the wireless handheld terminal and the third allows you to connect a data collector and download the collected barcodes into the order.
The CSV file requires to have the following 3 columns to be imported correctly:
- Barcode
- Stock qty
- Line cost
You can also include other columns as required for adding new products, these are the same column headers as used in the standard import option through "Manage Stock Lines".
When you have finished adding products, simply close the window and you will be returned to the main PO window where you can save the order.
-
If the entered line has something as a warning it will be a different colour, see below list:
Red-
Product either has no order code or has been marked as deleted by wholesaler.
Gold-
Product appears cheaper from another supplier.
Magenta-
Product is selling below MSRP.
Cyan-
Product has been on promo/clearance recently (do not over order).
Yellow-
Product is a do not order line.
Green-
Temporary colour denoting the line has been added or edited but not yet saved in the system. The line colouring will go away once saved.