Sage (Online)
The integration provides for sales to be uploaded to Sage as "quick entry" sales transactions against a specific customer (by default, "ProEPOS"). It does not support the uploading of purchase invoices/expenses as it is assumed that the retailer will be inputting these directly into Sage.
For a default configuration, the instructions are fairly straightforward.
Prerequisites
- Create an account on Sage.com (a free / trial account for testing is fine). Use the 30 day trial and not the 6 month trial (the latter requires credit card details, whereas the former does not). Note that there are multiple levels of subscription/account – the integration does not support "Start" as this does not provide quick entries. You therefore need at least a "Standard" level account.
- Sage will automatically create a single business. It is possible to create multiple businesses on an account, but ProEPOS will only use the main/default business.
- Add a customer named "ProEPOS" (this can be added using Contacts → Customers → New customer). Sale entries will be uploaded against this account.
- Ensure that the business has a "Sales – Products" ledger account with a nominal code of "4000". This can be checked under Settings → Chart of Accounts (under the Financial Settings heading). As a default ledger account, this should be present without any actioned being required.
Authorising and linking ProEPOS to Sage
Before any sales data can be uploaded to Sage, ProEPOS must be linked and authorised with the account. This process need only be done once, unless ProEPOS is ever disconnected from the Sage account by the user via the Sage website.
-
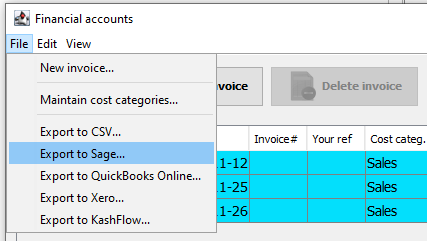
Open the Financial Accounts window in ProEPOS and select the File → Export to Sage… option:
-
In the window that appears, select the API → Authorise app/test link option:

-
A browser window opens, asking the user to authorise ProEPOS to access Sage:

-
Click the "Allow" button. You are re-directed to a confirmation page:

-
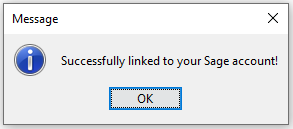
ProEPOS will now download the contact/customer list and ledger accounts. If it cannot find either a "ProEPOS" customer or a "Sales – Products" account, you will see an error and be asked to rectify the problem, otherwise you will be informed that the account has been successfully linked:
Uploading sales to Sage
Once ProEPOS is linked and authorised with the Sage account, sales data can be uploaded in the form of quick sale entries.
-
From the Sage export window, select the date range to upload. By default, the start date is set to the day following the last period uploaded. The end date is set to yesterday. These dates can be changed using the respective drop-downs:

-
Select the upload method (one entry per VAT rate, one per main department, or one per subdepartment) depending on the granularity required. Note that due to the way the Sage API works, it is not possible for ProEPOS to upload a batch of entries in one go (each entry requires an individual API call) therefore the "per sub-department" setting is not recommended. For most purposes, sales by VAT rate is sufficient:

-
Click the Export button.
-
The progress window displays the progress of the upload:

-
Once the upload if completed, a message is displayed:
-
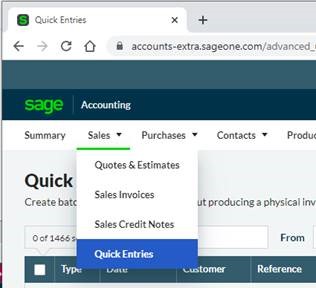
The quick sale entries can now be viewed/edited in Sage:
Example of entries uploaded/created using the "per VAT rate" option:
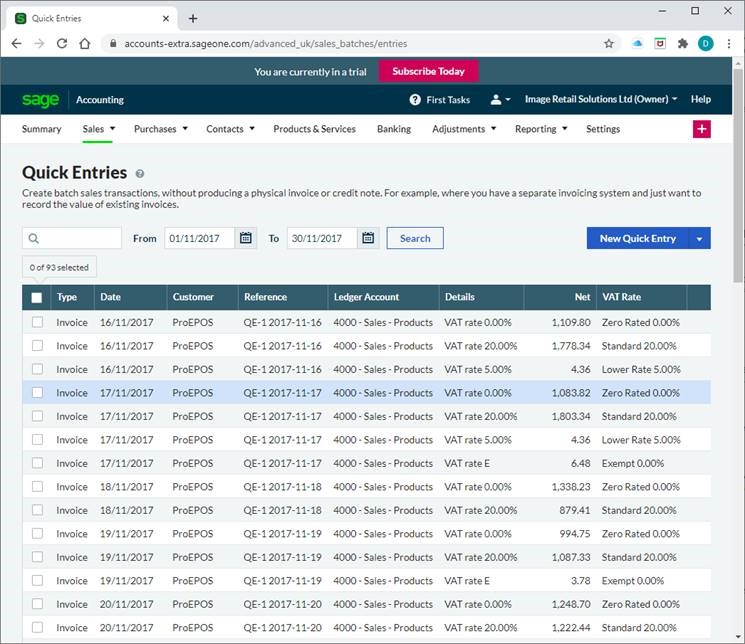
An example of entries uploaded/created using the "per main department" option:

Notes
This feature replaces the Sage audit trail / CSV export that was accessible under the same option in the Financial Accounts window. If an individual retailer requires this legacy option (as opposed to the new integration) then it can be reverted by setting the config option Sage → LegacySupport to "true".
To assign sales to a different customer in Sage (rather than the default "ProEPOS"), use the advanced config option Sage → ContactName to specify the customer name to use (must match exactly).
To assign sales to a different sales ledger in Sage, use the advanced config option Sage → LedgerAccountName to specify the name of the account (must match exactly). Note that the account name should include the nominal code in brackets (e.g. "Sales – EPOS (9999)").
Tax rates
| ProEPOS Tax Rate | Sage mapping |
|---|---|
| E | Maps to GB_EXEMPT |
| X | Maps to GB_NO_TAX |