Quickbooks Online
The integration provides for sales to be uploaded to the QBO company as sales invoices against a "ProEPOS" customer. It does not support the uploading of purchase invoices/expenses as it is assumed that the retailer will be inputting these directly into QBO.
For a default configuration, the instructions are fairly straightforward.
Prerequisites
- Create an account on the QBO website.
- Create an organisation for the business on the account (note that this must be a GB company and must trade in single currency/Sterling).
-
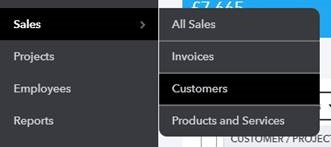
Ensure that the organisation has a customer named "ProEPOS" (this can be added using Sales → Customers → New customer):

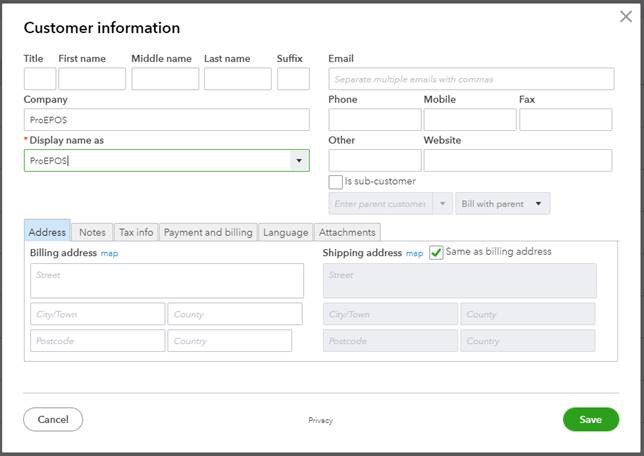
Note that only a company name (with matching display name) is required. All other details can be ignored.
-
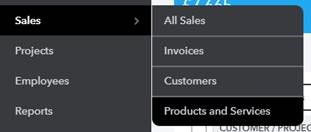
Create a product for each VAT rate of sales (Sales → Products and Services → New → Non-stock) :

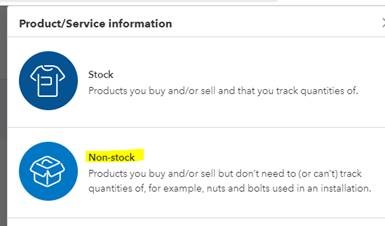
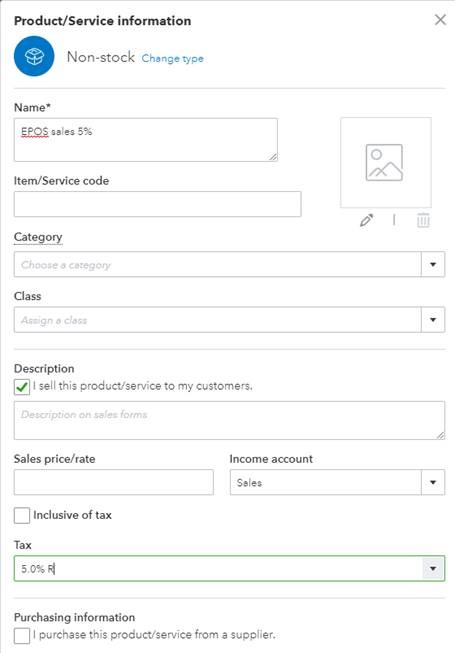
Note the format of the name MUST be "EPOS sales x%" where x is (currently) 0, 5 or 20. The option "I sell this product/service to my customers" should be ticked. The income account should be set to "Sales" (or another option if required). The tax rate in the drop down menu must match the rate in the product name.
Authorising and linking ProEPOS to QBO
Before any sales data can be uploaded to QBO, ProEPOS must be linked and authorised with the account. This process need only be done once, unless ProEPOS is ever disconnected from the QBO account by the user via the QBO website (or automatically after 100 days).
-
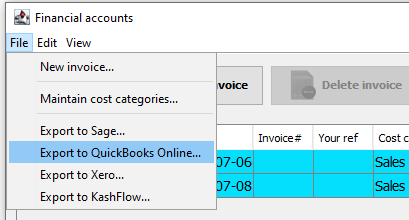
Open the Financial Accounts window in PE and select the File → Export to QuickBooks Online option:
-
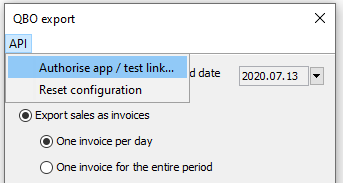
In the window that appears, select the API → Authorise app/test link option:
-
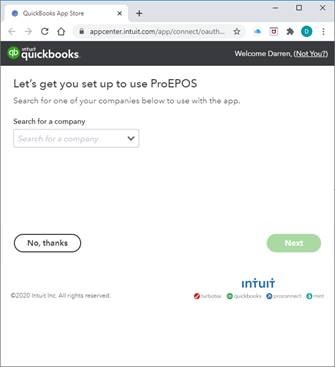
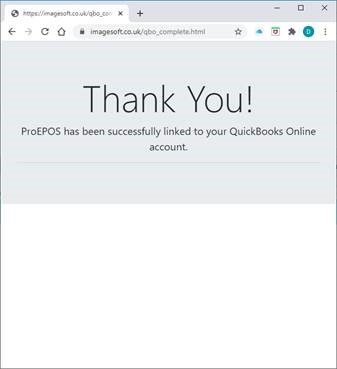
A browser window opens, asking the user to authorise ProEPOS to access a specific company on the QBO account (in case there is more than one):


-
Select the company and click "Next", followed by "Connect".
Uploading sales to QBO
Once ProEPOS is linked and authorised with the QBO account, sales data can be uploaded in the form of sales invoices.
-
From the QBO export window, select the date range to upload. By default, the start date is set to the day following the last period uploaded. The end date is set to yesterday. These dates can be changed using the dropdowns:
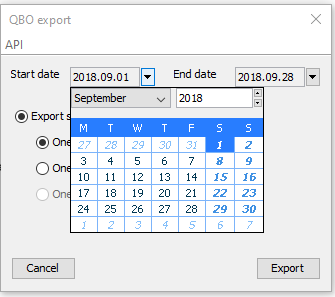
Note that the API allows a maximum of 30 days to be uploaded in one go.
-
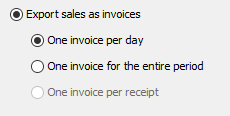
Select the upload method (one invoice per day or one for the entire period). The recommended setting is for one invoice per day:
-
Click the Export button.
-
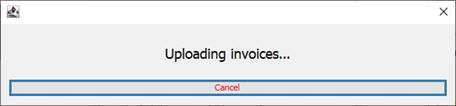
The progress window displays the progress of the upload:
-
Once the upload if completed, a message is displayed:
-
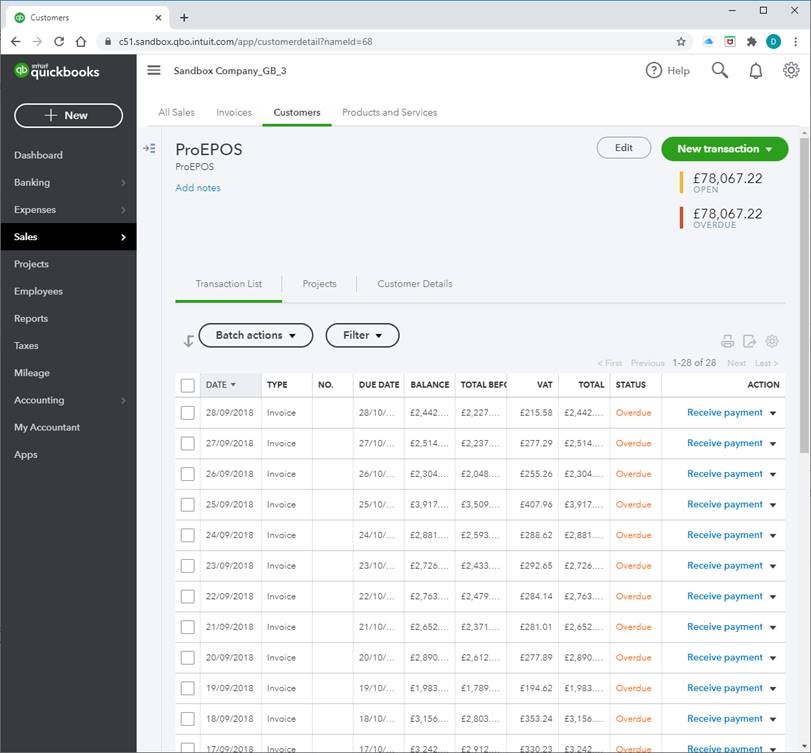
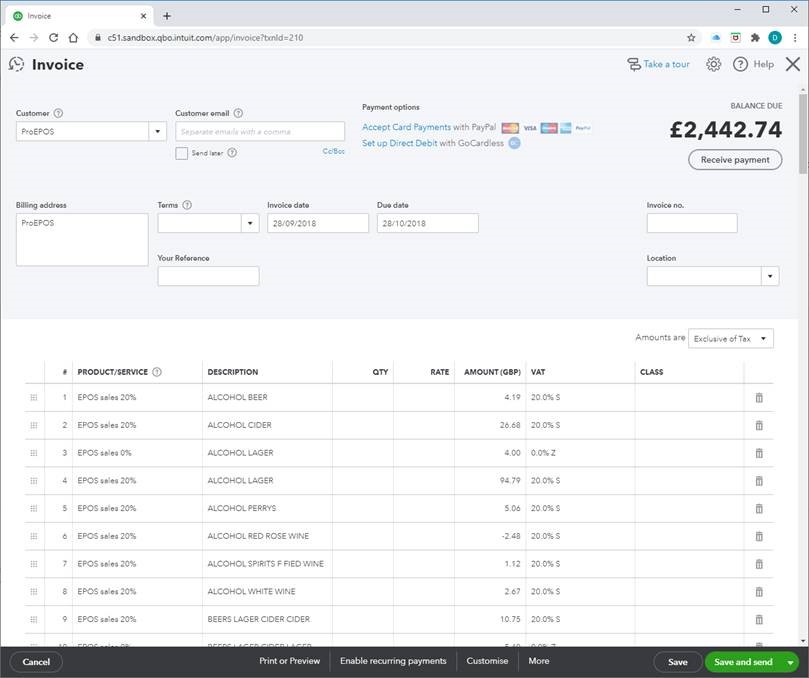
The invoices can now be viewed/edited in QBO:
Notes
If using the recommended setting of "One invoice per day" then ProEPOS will upload a single invoice for each day’s trade into Xero.
Line entries on these invoices comprise sales of the "EPOS sales x%" products (at each VAT rate). The description of each line entry is the department name to which the revenue on that entry corresponds.
Invoices are uploaded as unpaid. It is intended that users allocate payments to them when each invoice is respectively reconciled and banked.
Uploading sales for a date range already uploaded will cause duplicate invoices. You would need to manually delete these duplicates in QBO.
The API supports a maximum batch upload size of 30 invoices in a single operation.