Printing stock labels
If a lot of the products you sell don't have their own barcodes (e.g. because they are imported or are from a small manufacturer) or if you are printing your own shelf edge cards, then you may have ordered a barcode printer with your EPOS system. In this case, you can print stock labels directly from ProEPOS. If you just need to print shelf edge labels this can be done through either the receipt printer or to an A4 printer with label sheets.
The stock labels are of a set size and format and have on them:
- The name of the product.
- The barcode.
- The retail price.
You can process stock with your own barcodes in the same way as stock with a standard (e.g. EAN) barcode. Simply scan the barcode using your barcode scanner(s).
When adding on products which you will be printing your own barcodes for, it is a good idea to use the automatic barcode generating facility in the software. This ensures that the barcode given to the product is unique and that it is of a suitable length and format.
Once a product is on the system and has been assigned a barcode you can print barcode labels for it. From the "Maintain Stock Line" window, select the product line(s). Multiple lines can be selected by holding down the CTRL key on the keyboard as you select each row:
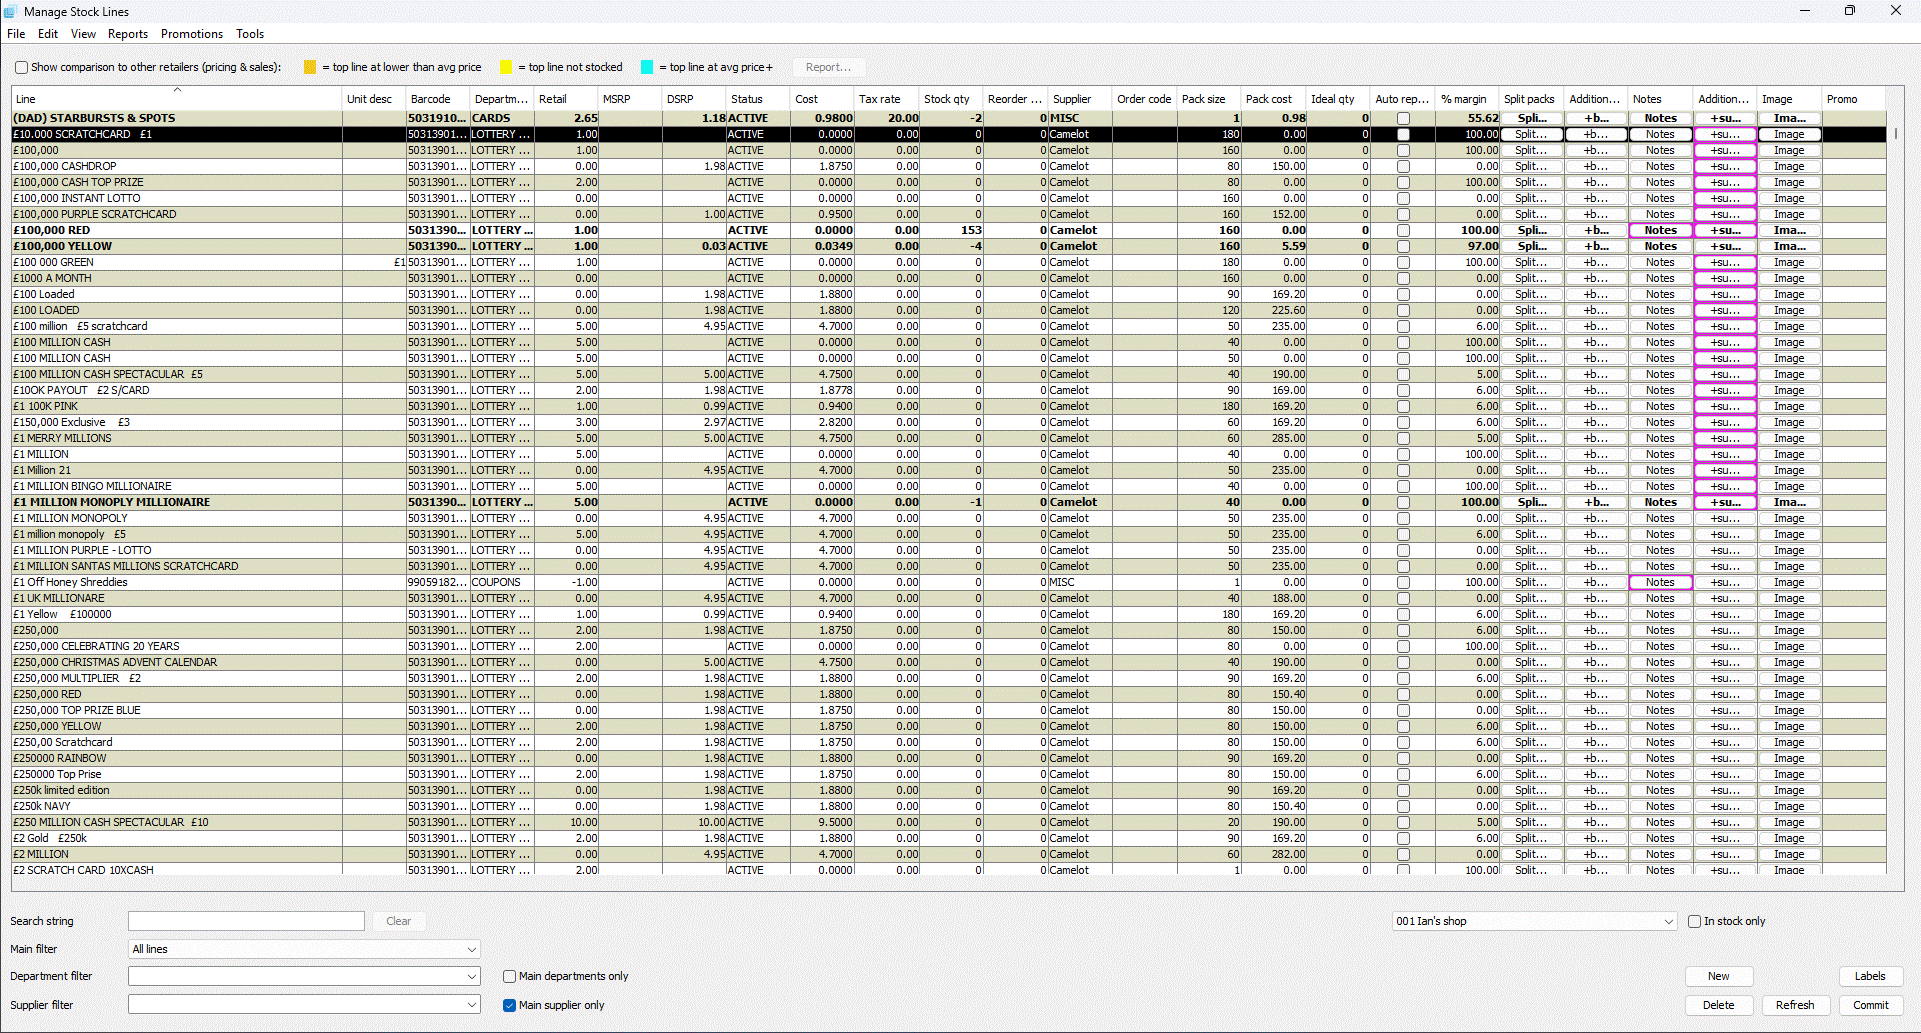
Click the LABELS button. You will be presented with the "Print Labels" window:
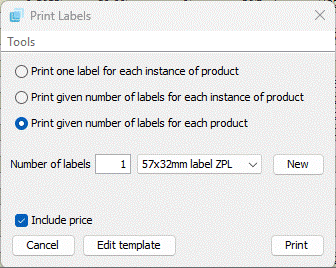
Here you can select which option applies:
- Print one label for each instance of the product. This prints the number of labels as detailed in the "stock qty" field.
- Print given number of labels for each instance of product. Prints the number of labels entered in the "number of labels" box multiplied by the number in the "stock qty" field.
- Print given number of labels for each product. Prints the number of labels entered in the "number of labels" box.
- Label selection. Choose the label template (the options below are the default templates) to print:
- 32x25mm label
- 57x32mm label
- 57x35mm Shelf edge card
- A4 shelf edge
- Charity label
- Epson shelf edge
- Jewellery label
- Premier shelf edge
- Promo shelf edge
- Include price
A4 label printing
Printing labels to an A4 printer requires additional steps to actually print the labels and that is to use the Tools>Print labels in queue menu option to send the print request to the printer. Which will display the "Label queue" window which gives a rough representation of the labels that will be printed:
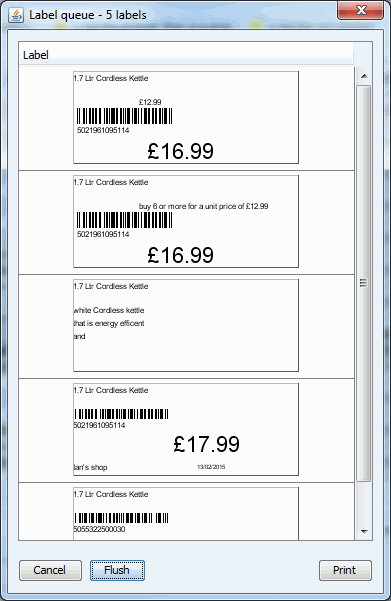
You can select individual labels and then tap the DEL or DELETE keys on the keyboard to remove the label from the queue:
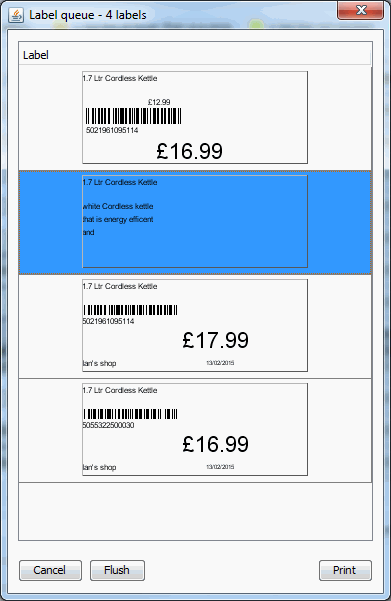
Clicking the "Flush" button allows you to flush the label queue completely to be able to start a fresh batch of labels to print, clicking the button opens the prompt to confirm that you want to delete all the labels in the queue:

Clicking the "Print" button will then display a screen detailing how many labels are in the queue to be printed and asking for the number of labels already used on the sheet.
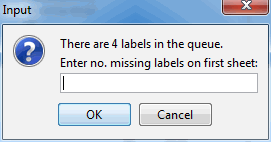
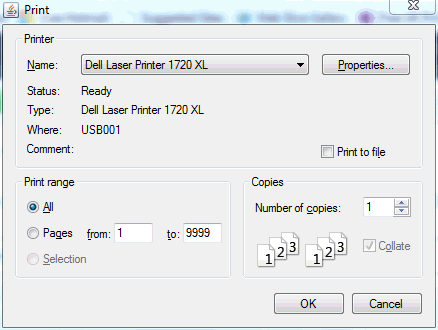
Once you have entered how many missing (used) labels there are, enter 0 if printing on a new sheet of labels, then click the OK button and you will then be prompted with the standard windows print dialog box so you can select the correct printer to send the labels to.
When the labels have been sent to the printer you are prompted if you want to delete the labels in the queue:
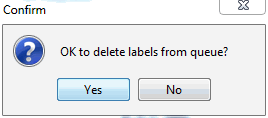
It is advisable to wait until all the labels have printed in case there is a issue with printing the labels. Clicking the "No" button returns you to the print labels queue window with the previous queue of labels still available to print, clicking the "Yes" button will return you to the queue window after deleting all the labels.
From here you can either reprint the labels that are still in the queue or simply close the window to move onto something else.
Advanced users may wish to edit the label layouts; doing so will require a familiarity with the EPL, ZPL or Epson ESC/POS (receipt) language of the printers. Please contact your reseller for advice.