PDTwizardTTY
Using the TTY batch scanner
PDTwizardTTY allows the user to walk around the shop with a handheld device that they can scan the barcodes of products and perform one of the following functions:
- A function to set/check prices.
- A function for generating an order (which includes support for split packs).
- A function for booking in goods received.
- A function for checking/setting stock levels (ie. stock taking)
Installing PDTwizardTTY
PDTwizardTTY can be installed on any version of the Memor terminal that we have supplied (i.e. both WiFi and Batch models). Note: you will need to select which device type (Memor or X3) it is in the hardware tab of the configuration options.
On existing handhelds it will co-exist with PDTwizardCE and there is no need to uninstall PDTwizardCE prior to installation of PDTwizardTTY.
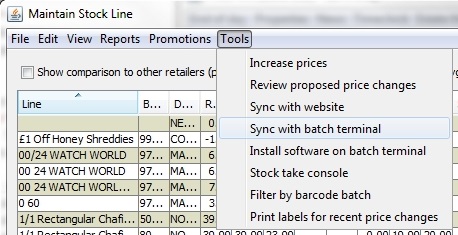
PDTwizardTTY can be installed from the Tools menu of the Manage Stock Lines window in PE. With the device connected simply select the "Install software on batch terminal" menu option:

You will be prompted to confirm the device is connected before the installation is attempted.

Once installed you should find the icon "PDTwizardTTY" on the Windows desktop of the device:
![]()
Syncronising the data
After the installation of the software on the device you will need to sync the EPOS data to the device, to do this select the "Sync with batch terminal" option on the Tools menu of Manage Stock Lines in ProEPOS.
While the data is syncronising to the device a please wait message will be displayed and as soon as that has closed the sync will be complete.

If this is the first time performing a sync, or the device has not been powered on for a while, or it could mean the data file is corrupted on the device, a warning message about an order file not being found is displayed, asking if you want to try the download again.

Clicking Yes will force ProEPOS to recheck the device for an order file and if it cannot find one will prompt again. Clicking No will mean that a new file will be transferred to the devive and overwrite any existing file.
You need to sync the device with the till before and after you have finished scanning the items you are working with so the changes made to the EPOS system are on the device and the updates you make using the device are applied to the EPOS system.
It is advisable to close the PDTwizardTTY app on the device when performing a syncronisation as any software updates for the app are applied during this process.
Starting PDTwizardTTY
To start the application double tap/click the icon to launch the app.
![]()
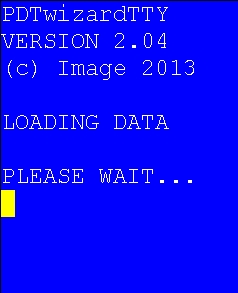
There is a slight delay while the product file loads into memory (approx 17 seconds):
After which the main menu is displayed:

Setting the retail prices
After syncing with the EPOS system.

Use the keypad to select an option. Option 1 allows the user to scan items to check/set prices:

Simply scan the barcode of the product at the prompt.
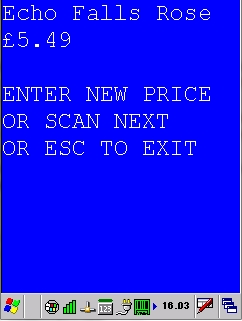
To enter a new price simply type the price in in pence and press enter.
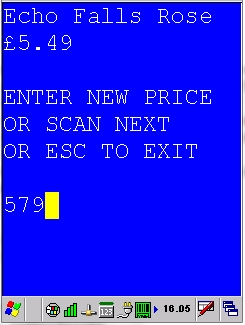
The window will refresh to show the updated price.
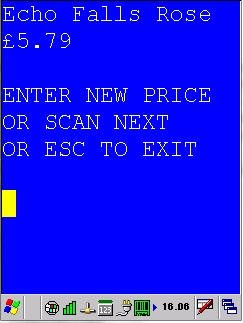
To move onto the next product simply scan the next barcode.
Pressing ESC at any time returns the user to the main menu.
If an unknown barcode is scanned, the software gives the user the option to add the item to the database (as a Quick Add Product):
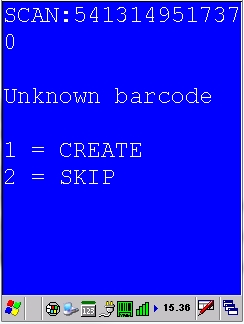
If the item is present in the national database then the name of the product will be set appropriately when the barcode is downloaded to ProEPOS. If the barcode does not exist in our national database then it will be assigned the name "MISC ITEM (HHT)" so it is advisable to keep one of these products with you to be able to update the details about it when you return to the EPOS system.
If you choose to create the product you are then asked to enter the name of the product (switch to use the "ALPHA" option on the keypad by tapping the "ALPHA" button) when you have finished press the "ENTER" button.
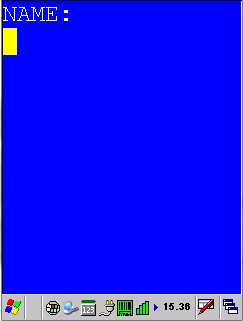
You are then prompted to enter the supplier order code (if known).
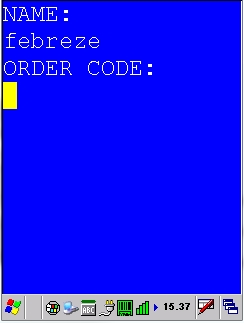
You are then prompted to enter the retail price, enter this in pence (for ?2.59 enter 259).
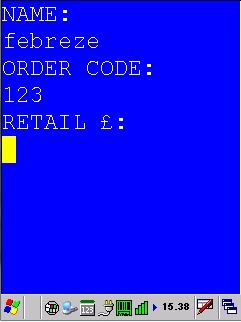
You are then prompted to enter the pack size, this is the number of units in a pack.
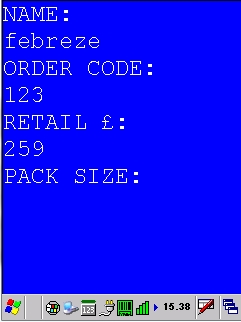
You are then prompted to enter more details starting with the outer barcode, this is the barcode that is printed on the pack, not the actual product barcode.
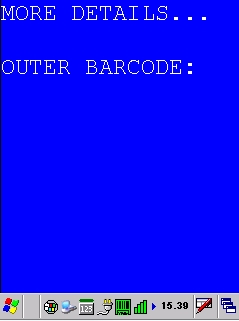
You are then prompted to enter the inner barcode, this is the actual product barcode, simply scan this in.
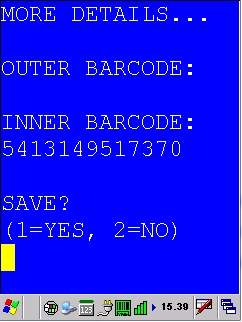
The last prompt is to save the details enter 1 for Yes or 2 for No, if you save the product details you are returned to the standard set prices window and can carry on setting prices for products.
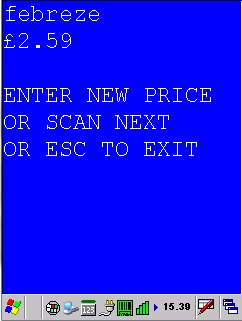
When the data is syncronised back to the EPOS system products that have had a price change will automatically have a new shelfedge label printed for them.
Creating an order
After syncing with the EPOS system.

Option 2 allows the user to scan items to order:

Simply scan the items to order:

The screen shows the item details including how many units are currently on order of the item. Enter the number of standard packs to order, or precedes the quantity with a "*" to order a split pack (if available for the item).
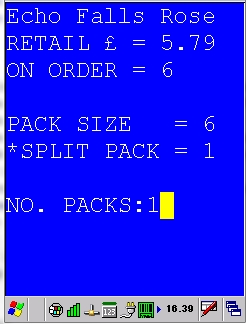
When the no of packs has been updated the 'ON ORDER' line will update to reflect the number of units on order.
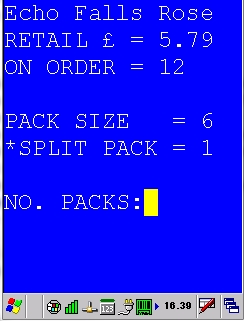
To move onto the next item either scan the barcode of the new item or press the Enter button to return to the Scan prompt.
If you scan a product where the barcode is unknown you cannot add this product to an order where there are no details about the item on the EPOS system.
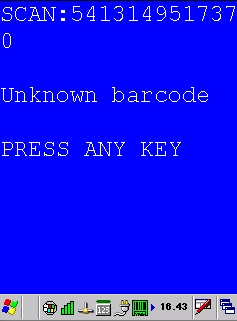
Once you have finished selecting items to order you will need to sync the device back with the EPOS system which will either create or append an open order for the main supplier of the items scanned. You will then need to finalise the order as described in the Purchase ordering system section of the manual.
Receiving a delivery
After syncing with the EPOS system.

Option 3 allows the user to scan items to receive goods in from a delivery:

Simply scan the items you are receiving:
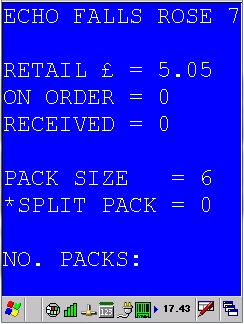
then enter the number of packs being received, if these are a split pack enter a * before the quantity.
Performing a stock take
After syncing with the EPOS system.

Option 4 allows the user to scan items to check/set their stock level:

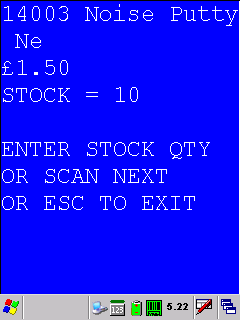
Simply scan the items you are checking or setting the stock level:
