Hospitality Module
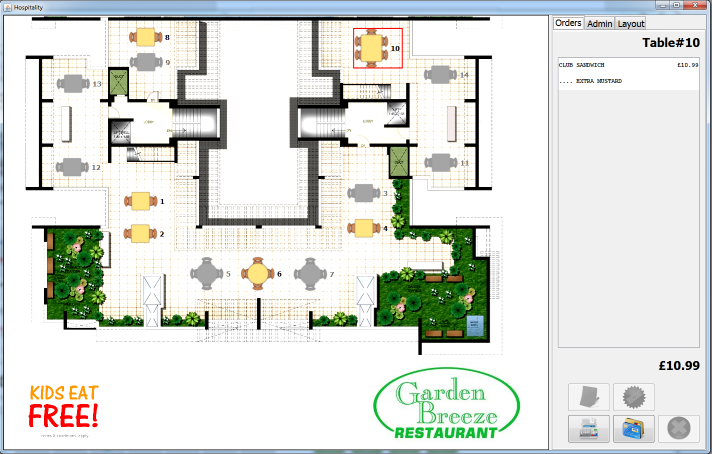
This new feature:
- provides a "dining" interface for accepting table orders for food and drinks within PE
- provides a facility for waiting staff to enter food & drink orders via an iPod (or other, compatible mobile device) from the point-of-service
- prints food and/or drinks orders to a kitchen and/or bar printer
- extends the hotkey functionality in PE to provide advanced capabilities
There are two ways in which the new "dining" interface can be accessed:
- Using a new "Dining" button which can be added to the POS keypad or quick keys (from the usual "Keypads" config window).
- By configuring PE to open the new Dining POS window in place of the standard POS window through the new (terminal specific) config option on the "Hospitality" tab in the config (which maps to the new Hospitality -> StartInDiningModeTx" config option; where x is the terminal number).
Different terminals at the same site may be configured in different ways depending on their designated purpose eg. a bar terminal will need to run in "normal" mode, with the hospitality functions accessible through the "Dining" button in the POS, whereas a terminal in the restaurant area (not required for POS use) would be configured to open the Dining window immediately on selecting the POS option from the main menu.
Regardless of how the dining window is accessed, its operation is identical (with the exception of payments, which are discussed below).
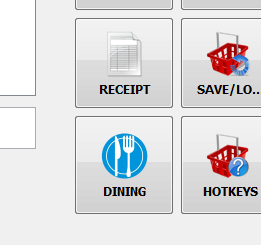
If not configured to launch in Dining mode, access to the hospitality window is through the Dining button in the POS screen:
Designing the floor/table plan
On first accessing the hospitality window, the restaurant/table plan will be blank. Creating a floor/table plan is easy, and is done from the "Layout" tab:
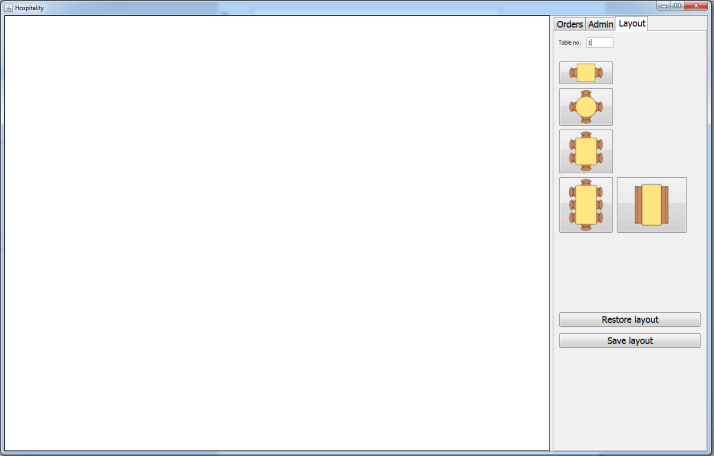
Simply tap/click the button representing a table of the required number of seats to add it to the plan. The table is automatically allocated the next available table number (this can be changed in the "table no." field at the top of the window):
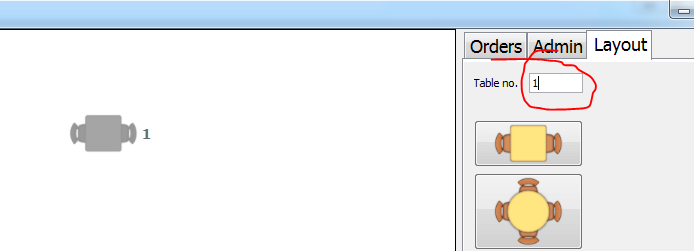
Now drag the table to the desired location.
Repeat for each table/booth.
To (physically) resize or delete a table, right click on it to view the context menu of options and select "Shrink" or "Enlarge"; The image will be shrunk or enlarged by 10% - repeat as required.
To add a custom table image, fixture/fitting image or background image, simply drag any suitable image file (JPG, GIF, PNG, etc) to the floor plan area of the window.
When an image is added, PE will ask if the image is a table - answering "yes" will add the image to the plan as a table and allocate it the next available table number.
Note that table images will initially appear greyed out, as the default state of a table is "vacant" (ie. unoccupied).
Images are added in "layers" - context menu options are also provided to push an image to the back or bring it to the front.
Once you are happy with the floor plan, click "Save layout" to save the layout to the database (NB: if using images with a large file size, you may receive a "max packet size exceeded" error - in which case you will need to change the MySQL server config to increase the maximum network packet size).
Once the table plan has been created, the restaurant menu needs to be defined.
Creating the restaurant menu
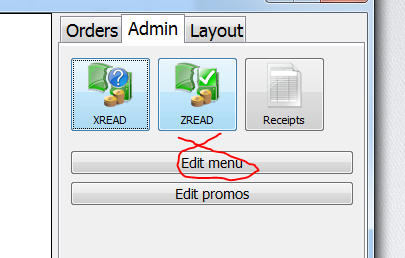
For simplicity of the user, the hospitality window makes use of the hotkey system to define the food/drink menu options. Setting up the food/drink menu used for ordering is therefore done through the hotkey configuration window. This can either be accessed through the main menu window (in the normal way) or via the "Edit Menu" button on the Admin panel of the hospitality window:
To accommodate the additional requirements of food in particular, a few additions have been made to the hotkey system:
- As well as mapping to a product or a hotkey keypad, a hotkey button can now add a comment to the order/visit (the system deems a hotkey value to be a comment where the value is neither a valid barcode nor a keypad name).
- Hotkeys can now map to multiple barcodes / comment / keypads - this makes it possible for a single hotkey to sell a product/dish, add a comment to the visit and/or switch to another keypad. Each parameter should be separated with a pipe character. e.g.
123456|Rare|Steak options
This would add the product with a barcode of 123456 to the order, add a comment of "Rare" and then switch to the "Steak options" keypad. These options could be specified in any order. Ie. the following would have the exact same effect/meaning as the above:
Steak options|123456|Rare
NB: Whereas it might make sense for a single button to map to 2 or 3 products or comments, specifying multiple keypad names would be non-sensical as only one keypad can be displayed at a time. - In addition to this extension to the hotkey definitions, an additional new feature of the hotkey setup is the ability to specify a price (override) after a barcode. E.g.:
123456,10.99|Rare|Steak options
Tapping on this hotkey would add the product with barcode 123456 to the order at a price of £10.99 (as well as adding a comment of "Rare" and switching to the "Steak options" keypad). - The hotkey system now also sets up a product (as a Quick Add Product) in the database if the specified (numeric) barcode does not already exist, using the button text as the name of the product and the barcode and price specified in the hotkey definition. This removes the need to create products before mapping them to a hotkey, and greatly simplifies the process of setting up a usable menu.
Processing a table order (through PE)
Once the menu is setup, the system is ready to use (note that promotions work just as well for food and drink as they do for retail purchases, so the retailer can setup any offers which they want to run on dining in the usual manager).
Flicking to the Orders tab, you will notice that all tables are initially greyed out as they are "unoccupied":
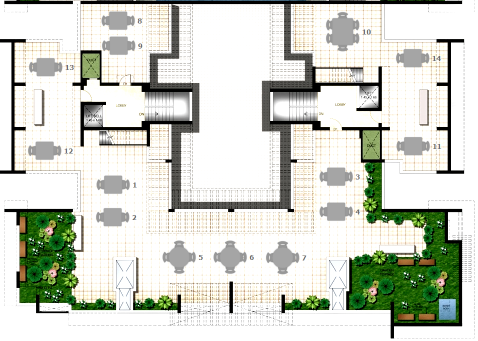
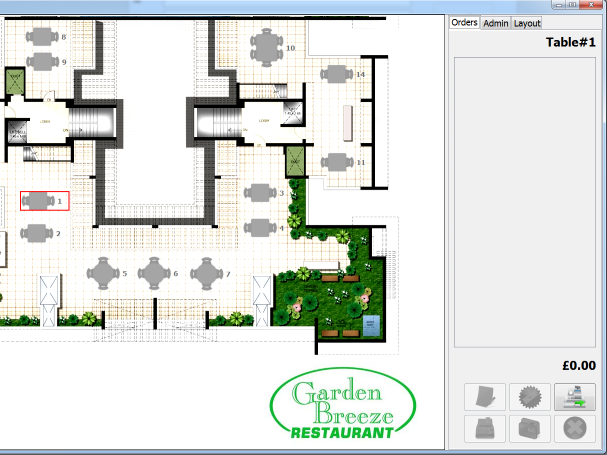
To select a table, simply click or tap. The table becomes outlined in red and the right side of the window displays the current order and bill value / balance for the table:
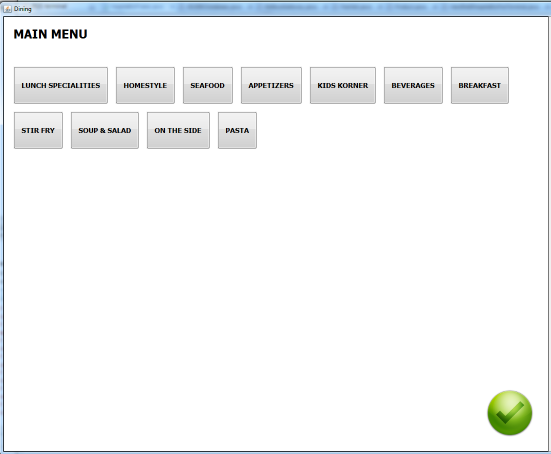
Tapping/clicking the table again will switch to "ordering mode" and display the main hotkey menu (either the "DEFAULT_HOSP" keypad if one exists, or the "DEFAULT" keypad):
Note
That the buttons automatically position and resize themselves to suit their content and the size of the window.
Note
Also that the buttons in this example are all textual, but as with normal hotkeys, images can be used in preference.
Adding items to the order is simply a case of navigating through the menu and selecting each dish to add to the order:
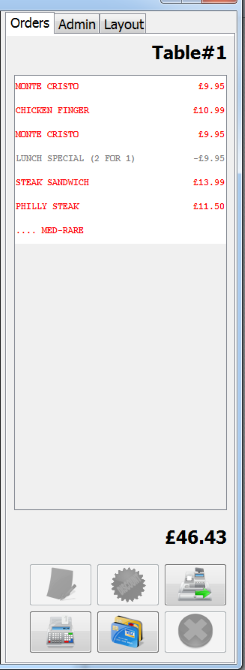
Comments/notes are prefixed with a "....". Entries are displayed in red until submitted to the kitchen/bar. Promotional discounts are shown in grey.
To remove an item, click the item to select it and then tap the delete button:
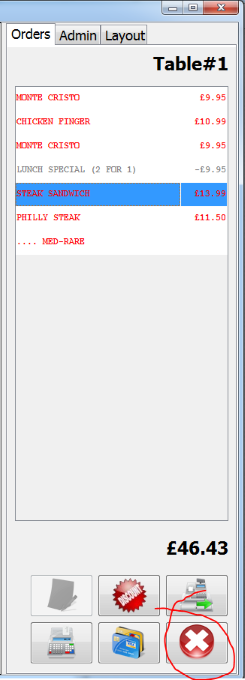
Any notes/comments relating to an item are deleted with it. Promotional discounts are automatically recalculated when an item is deleted (in case the customer no longer qualifies).
To change the price of an item, select the entry and then click/tap the Discount button:
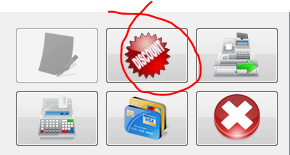
The system prompts for the amended price:
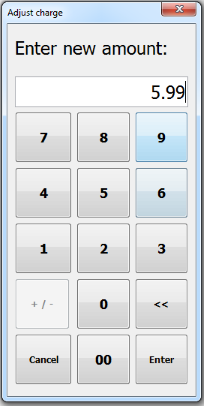
Note
That the user must have suitable access rights to discount an item (the hospitality window uses the same authorisation levels as the main POS screen).
Sometimes a note will need to be added against an item (eg. "no sauce" or "well done") - where there is no preset hotkey setup for these, the user can add a note for the kitchen/bar staff using the Note button:
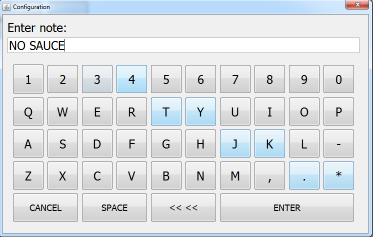

Once all the items for the current course have been added, simply click/tap the "all done" button:
The order will print through to the kitchen and/or bar printer. (By default the kitchen printer is assumed to be called "KITCHEN" and the bar printer is assumed to be called "BAR", but both these can be overridden using the config options "EPOS -> KitchenPrinterName" and "EPOS -> BarPrinterName". For testing purposes I would recommend changing them both to "RECEIPT" if only one receipt printer is available).
The display switches back to the table/floor plan, with the table still selected, but now "lit-up" to indicate that the table is occupied:
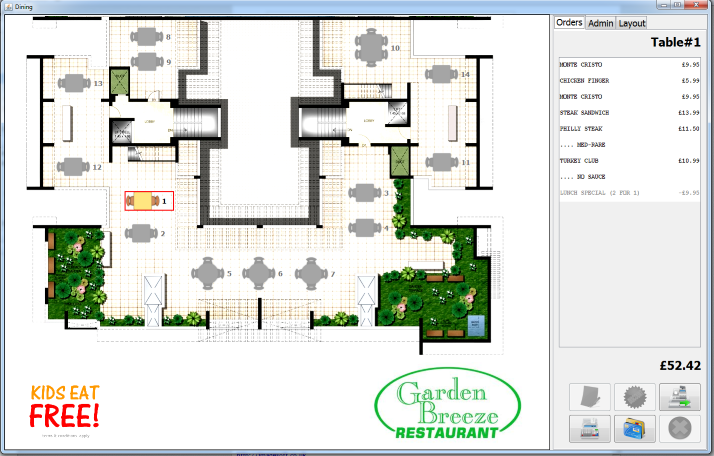
To exit the table (although this is not essential), simply click/tap a "non-table" object.
To order the next course, simply tap the table again to re-access the menu screen.
At any point, tapping the exit button will return to the POS terminal window (not available if the hospitality window is running in standalone mode):
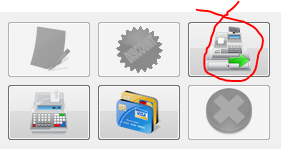
Printing a bill & tendering payment
To print a bill, simply click the "print bill" button:
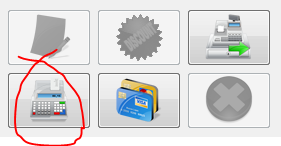
To tender a payment, use the "tender" button:
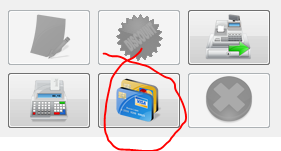
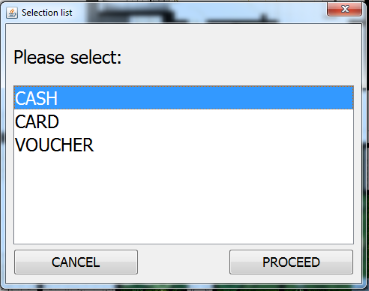
If running in "stand-alone" mode, the system will prompt for the payment type and amount and allocate the payment to the table, with the familiar changebox displayed:
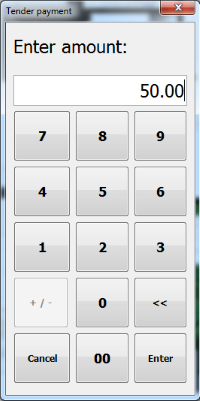
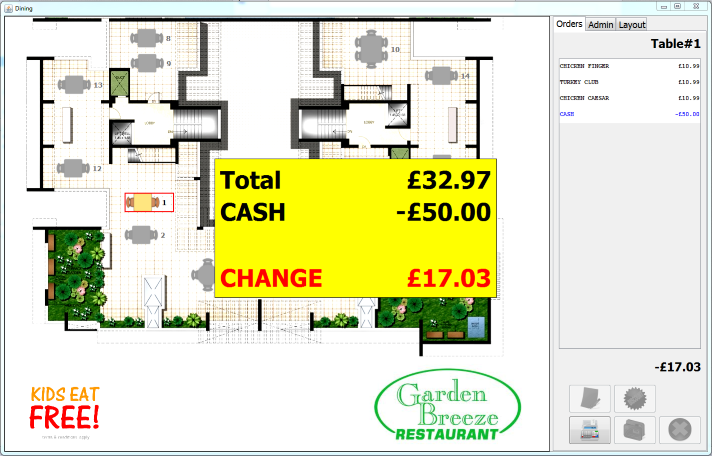
If being accessed from the Dining button in the main POS terminal, the bill is sent to the terminal for tendering in the normal way:
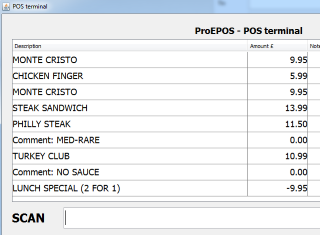
With either flow, the table is automatically cleared down, ready for the next patrons.
Processing a table order (through a mobile iOS device)
In addition to placing orders through the PE GUI, waiting staff can also process orders through an iOS device (a 4th or 5th generation iPod is recommended) using a built-in webapp.
(Note that for testing purposes, Google Chrome can be used on a desktop PC to simulate a mobile iOS device).
Simply point the browser of the device to the URL shown in the config window (ensure that the option to launch the server is ticked, and restart PE if required):
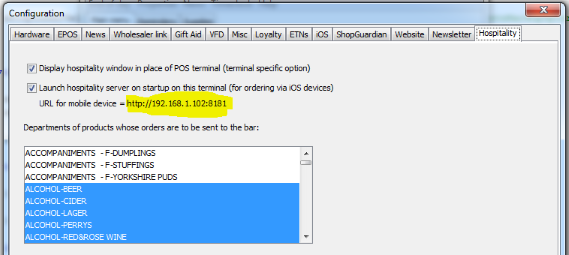
The app prompts to install itself onto the device:
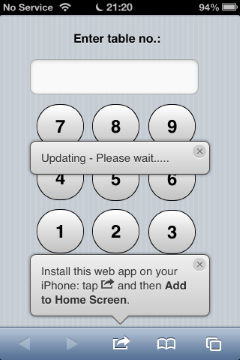
Follow the prompts to install by using the "add to homescreen option":
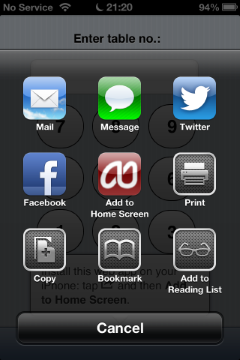
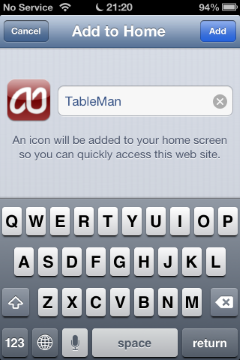
You can now use the homescreen icon to launch the app.
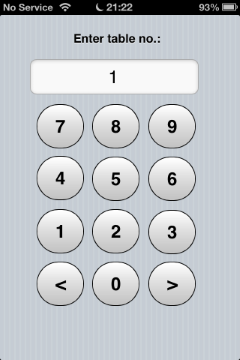
On launching, the app prompts for the table number:
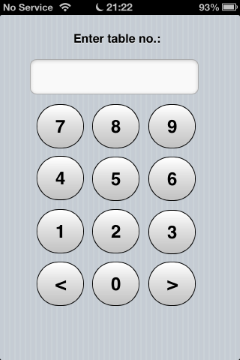
Simply enter the table number and select ">" to continue:
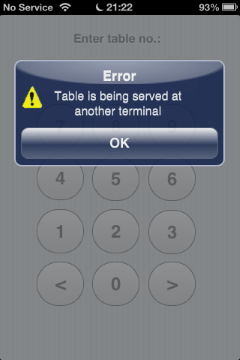
If the table is already being served at another terminal (or on another device) an error is displayed:
Otherwise the ordering screen is brought up (with the current order/bill for the table displayed):
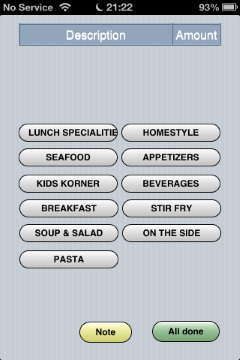
Navigate the menus by tapping with a finger or stylus.
Note
That whilst the mobile app can use the same hotkey menus as PE (and will do so by default), screen space is very limited on the mobile devices, with a max of 14 buttons per "page" of hotkeys permitted. In addition, button contents must be purely textual (images are not supported). Because of this, a separate root ("mobile friendly") hotkey menu can be provided under the name "DEFAULT_MOB".
Each item is added to the order:
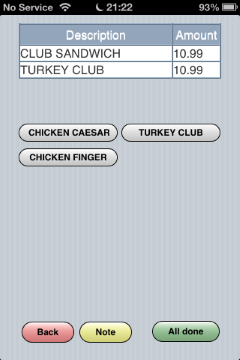
Use the yellow "Note" button to add a note to the kitchen/bar:
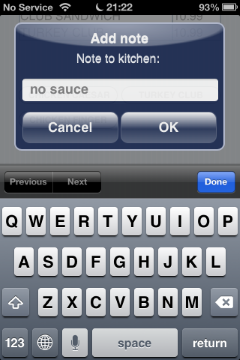
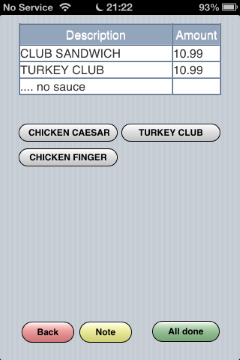
Finally, click "All done" to submit the order to the kitchen/bar.
Submitted orders are visible in PE, just as they would be had the order been processed through the PE GUI.
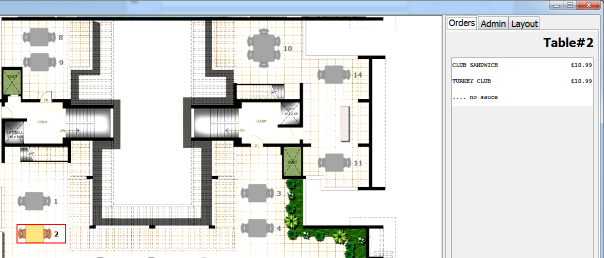
Waiting staff are free to switch between PE GUI/handheld ordering between courses.